Your First Session in One Loop
Start with one simple loop: backflip for Speed, fill the Jumps requirement, enter the escape course, and finish for a Win. Do not spend the whole first session training in the hub. The course quickly shows whether your Speed helps or has become hard to control.
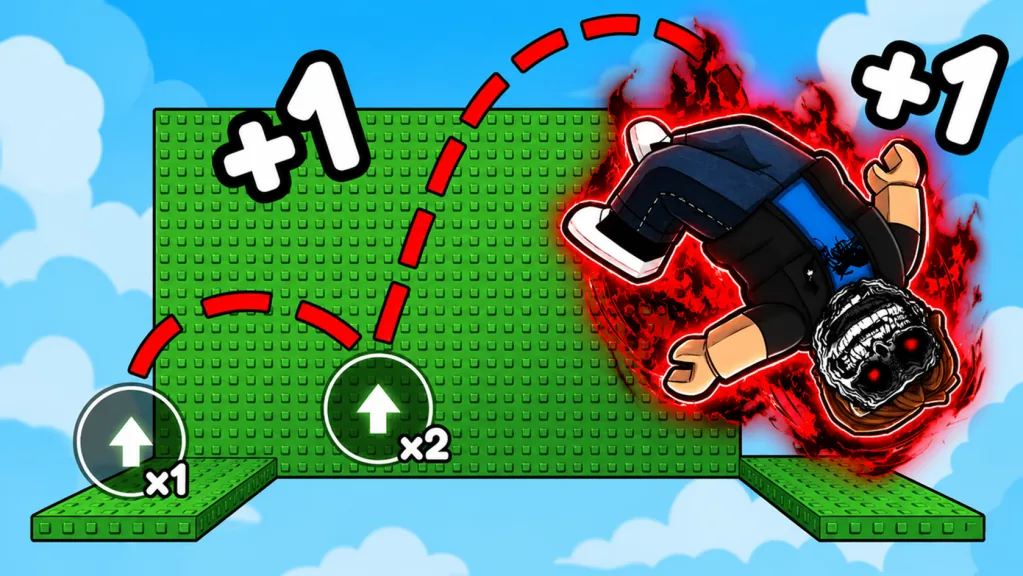
Every backflip gives +1 Speed. Repeated jump input handles the training action, the Jumps counter feeds your Level, and the tutorial later points you toward Shoes and a treadmill. Together, these systems prepare you for another course attempt.
Your first target is not a huge Speed number. It is one clean completion.
Read the Four Numbers That Matter
New players often see several counters and treat all of them as the same kind of power. Use each one for a different decision.
| Display | What it tells you | What to do with it |
|---|---|---|
Current Speed | Your immediate movement value | Test whether you can still stop and land accurately |
Total Speed | A cumulative Speed display | Use it to track overall growth, not as a promise of exact course performance |
Jumps current/required | Progress toward the next Level | Backflip until the requirement fills, then reassess |
Wins | Successful escape completions shown with a trophy | Treat the first Win as proof that your training is course-ready |
The exact relationship between Current Speed and Total Speed is not explained on the store page. You do not need a hidden formula to make progress. Watch what your avatar does after a training block: if you can cross a gap and stop on the next platform, your movement is usable.
Step 1: Learn the Backflip Rhythm
The tutorial area displays SPAM JUMP TO BACKFLIP. Start in open space and repeat the jump input until the motion feels predictable. Pay attention to where the flip begins, where you land, and how much room you need as Speed rises.
Do not begin beside lava or a narrow ledge. Training beside a hazard adds a reset to every mistake and slows down the one thing you are trying to learn: the timing of the movement itself.
As your Jumps counter reaches its requirement, the interface announces a Level Up and starts a new requirement. That gives you a natural practice interval. Fill one Level, then take a short course attempt. This is more useful than grinding several Levels without checking your control.
Step 2: Attempt the Course Early
A wrong move can send you back to the start. That is exactly why an early attempt matters. Make the cheap mistakes before investing a long session in Speed you cannot yet control.
At the entrance, check any recommended-Level sign in the live server. Treat it as current guidance. Earlier versions divided the course into labeled stages, but layouts and requirements can change, so read the signs you actually see instead of memorizing an old stage count.
Use this first-run method:
- stop before each new obstacle;
- read red arrows and the next doorway before moving;
- place the camera behind the route;
- jump toward the middle of the landing surface;
- release movement before the edge rather than correcting after you pass it.
The course includes gaps, narrow platforms, raised blocks, lava surfaces, and black spikes. The arrangement can change after updates, but the same decision loop still works: scan, align, commit, stabilize.
Step 3: Earn the First Win
The opening tutorial asks for one Win. A successful escape raises the trophy counter, so the finish is the clearest test of whether your current setup works.
Do not assume an old reward amount still applies. One finish displayed Collected 20 Wins!, but route rewards can change. Read the finish message in your server and check the trophy counter to see what you received.
If you fail near the beginning, return and try again. If you fail deep in a run, the interface can present a timed Revive? Teleport Back? premium option. The prompt does not define the exact return point. Check the live wording before spending Robux, and choose No! when the cost is not worth preserving that attempt.
Step 4: Follow the Tutorial Upgrade Order
The tutorial moves from a first Win to Buy the next shoe, then sends you to the treadmill. That gives beginners a sensible order:
- prove you can finish once;
- inspect the next Shoe in the live Store;
- buy only when the displayed price and improvement make sense;
- use the treadmill or training lane you currently qualify for;
- return to the course and test the difference.
The hub includes a BOOTS & PHONKS area and several colored training lanes. Do not copy a price or Shoe bonus from an old screenshot. Read the live item card before buying.
Step 5: Use Training Lanes Correctly
Training lanes show Speed multipliers. Labels have included 1 Rebirth x2 Speed, 2 Rebirths x3 Speed, and 4 Rebirths x4 Speed. This shows how Rebirth progression can open stronger training options, but you should still read the current labels.
For a new account, use the best lane that is visibly available. Do not stand at a locked lane planning around a requirement copied from another version. Read its current sign, train for one Level interval, then run the course again.
Alternating between training and the course catches two problems early:
- undertraining: you cannot comfortably reach or clear the next obstacle;
- overtraining without control: you cross platforms quickly but slide or overshoot the landing.
A Safe Beginner Upgrade Checklist
Several systems compete for attention in the hub. Use this checklist before committing time or Robux.
| System | Beginner decision | Live check |
|---|---|---|
| Shoes/Boots | Follow the tutorial and inspect the next upgrade | Current price and displayed benefit |
| Treadmills | Use the strongest unlocked lane | Current Rebirth label and Speed multiplier |
| Trails | Treat them individually; some show Speed Boost | Current Trail card, price, and boost text |
| Auras | Use them for visible progression unless a live card states a bonus | Current Aura description |
| Rebirth | Wait until the live menu clearly shows the cost, reset, and benefit | Current confirmation screen |
2x Speed or Starter Pack | Optional acceleration, not required to learn the route | Current Robux cost and included items |
Avoid building your first-session plan around Double Jump. The game listing names it but does not state its unlock condition or exact input. If the live UI offers it, read the prompt and practice in the hub before relying on it over lava.
Common First-Session Mistakes
Grinding without testing
More Speed feels like automatic progress until a narrow platform requires a short landing. Alternate training and course attempts so your hands adapt with the stat.
Chasing every shop icon
The hub contains limited-time, daily, and premium offers. None replaces the basic loop. Complete the tutorial order before comparing optional Trails, Auras, or packs.
Treating a recommended Level as a universal lock
The entrance can show a recommended Level, but a recommendation is not necessarily a hard gate. Walk to the entrance and check instead of assuming you cannot enter.
Correcting after the landing
At high Speed, late steering can carry you off the far edge. Make your alignment before jumping, aim for the center, and reduce input as you touch down.
Paying to revive every fall
A revive can save time deep in a run, but early falls are better treated as free practice. Read the destination and price shown by the current prompt before accepting it.
The Best Repeatable Routine
Once you have one Win, repeat this short cycle:
- fill one
Jumpsrequirement; - check the next Shoe or unlocked training lane;
- make one course attempt;
- identify the obstacle that ended the run;
- practice that movement in open space;
- attempt the course again.
This keeps every upgrade tied to a practical result. You are not training to make a number larger; you are training to move through the escape route without throwing away the extra Speed.
FAQ
How do I gain Speed in +1 Backflip Phonk Escape?
Perform backflips. The official game description states that every backflip gives +1 Speed, while current multipliers and boosts should be checked in the live interface.
What should I do first after joining?
Practice backflips in open space, fill a Level requirement, attempt the course, and work toward the tutorial’s first Win. Then inspect the next Shoe and treadmill objective.
Does more Speed always make the course easier?
No. Speed helps you cover distance, but narrow landings still require alignment and early braking. Test your control after each training block.
How many Wins does a course completion give?
Read the finish message in your current server. One run awarded 20 Wins, but that does not establish a universal reward for every route or update.
When should I Rebirth?
Open the current Rebirth screen and compare its displayed cost, reset behavior, and training benefit. Do not use an old formula; the live lane labels are the check for which stronger training areas your Rebirth total unlocks.