The Safe Route Is Scan, Align, Commit, Stabilize
Holding forward and trusting your Speed will not clear the escape course. At every obstacle, scan the route, align before moving, commit to one landing, and settle before the next jump. One wrong move can send you back to the start, so control matters more than rushing into lava.
The course has used labeled stages, red arrows, gaps, narrow platforms, raised blocks, lava, bright blue hazard floors, and black spikes. The arrangement can change. Learn to read the live route instead of memorizing coordinates from an older layout.
Prepare Before You Enter
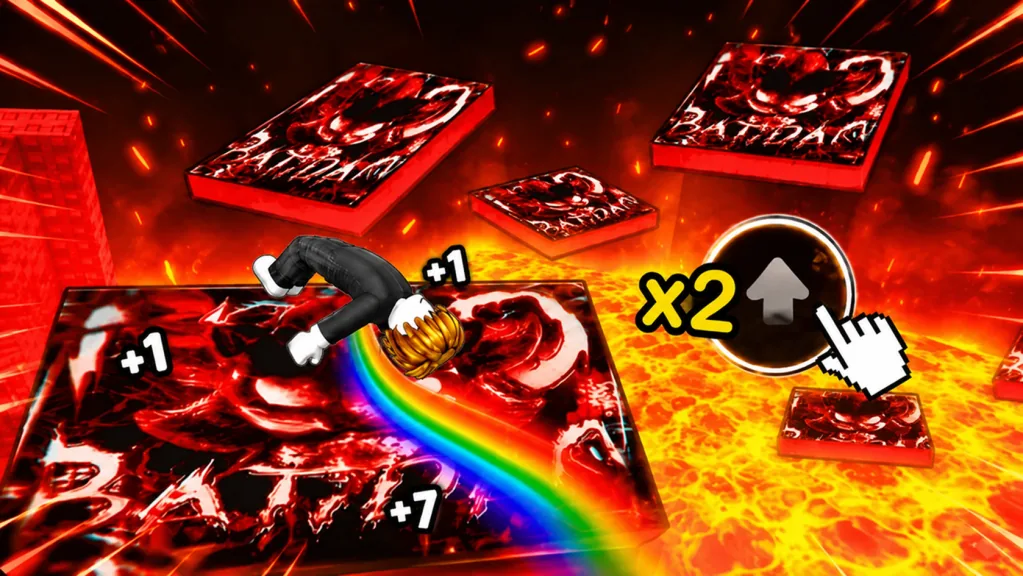
Each backflip gives +1 Speed. More Speed helps you cover distance, but it also changes how quickly you cross a small landing. Prepare for control, not a target number copied from another player.
Run this short readiness check in the hub:
- perform several backflips in open space;
- watch your
Current Speedafter the training block; - jump onto a safe platform or marked area and stop near its center;
- repeat until you can predict where the avatar lands;
- read the live recommended-Level sign at the course entrance.
The interface shows both Current Speed and Total Speed, but the game does not explain how they relate. Test the movement itself. If you cannot stop where you intend in the hub, more training will not fix your braking.
Read the Entrance, Not an Old Stage List
An earlier route showed Stage 1 through Stage 8. Treat that as a snapshot. Before entering, look for:
- a recommended-Level sign;
- arrows that identify the opening direction;
- the first safe landing surface;
- the color and shape of the hazard below;
- any door or marker that indicates the next stage.
A recommended Level can tell you how the current build expects players to prepare. It was not confirmed as a hard lock at every entrance. Walk up to the live entrance and see whether the game blocks you, warns you, or lets you proceed.
Use a Stage-by-Stage Framework
Stage entry: stop and build a route picture
When a stage label loads, stop moving. Find the exit first, then trace the platforms backward from that exit to your position. This prevents a common mistake: jumping onto the closest block only to discover it leads away from the door.
Red arrows are a strong route cue. Use them to confirm direction, but still inspect the landing. An arrow can show where to go without telling you how much Speed to carry.
First jump: choose a conservative landing
Aim for the middle third of the next platform. Edge landings leave no room to absorb forward momentum. Align the camera behind the jump so left-right correction matches the visible route.
Use one decisive input rather than several late taps. The faster your avatar becomes, the more a last-second correction can turn a good line into an overshoot.
Middle sequence: preserve rhythm without rushing
Linked platforms tempt players to chain every jump. Chain only when the next landing is already visible and wide. Otherwise:
- land;
- reduce movement input;
- center the avatar;
- rotate the camera;
- begin the next jump.
That pause costs less time than a full reset.
Stage exit: confirm the door or marker
Do not celebrate after the last difficult jump. Run through the stage doorway or marker and wait for the next label or route area to load. A safe platform near a door is a good place to reset the camera and your hand position.
How to Handle Each Hazard Type
| Hazard | Main risk | Safe response |
|---|---|---|
| Open gap | Starting from a poor angle | Square the camera, aim at the center, then commit |
| Narrow platform | Carrying too much forward movement | Release input before touchdown and stabilize |
| Raised or offset blocks | Misreading height and route order | Trace the blocks from the exit backward |
| Lava floor or wall | Any contact can end the attempt | Favor wider safe surfaces and avoid edge corrections |
| Bright blue hazard floor | Treating its color as decoration | Assume it is unsafe when the route keeps you above it |
| Black spikes | Cutting a corner too tightly | Give the obstacle more side clearance than it seems to need |
| Door and arrow section | Entering the wrong lane | Confirm both the arrow and the next visible platform |
The game presents lava and Aura as core parts of its world. Course hazards should be treated as active until the live route clearly shows otherwise.
Control Speed Without Losing Progress
The wrong response to overshooting is not always “train more.” Use three tests.
Test 1: Can you stop on a wide platform?
If no, practice releasing movement earlier. Your issue is braking timing.
Test 2: Can you land centrally but miss narrow blocks?
If yes, adjust camera alignment and approach angle. Your issue is precision.
Test 3: Can you clear early stages but fail after a longer sequence?
If yes, insert a full pause between obstacles. Your issue is rhythm and decision speed.
Return to treadmill training when you consistently fall short of distances, not when you are already flying past landings. The hub’s multiplier lanes can accelerate Speed growth, and Rebirth progression opens stronger lanes, but no multiplier replaces route control.
What to Do After a Fall
A wrong move can return you to the start. A timed Revive? Teleport Back? offer may also appear with a premium button and No!.
Use this decision rule:
- Fall near the start: decline and restart. The lost time is small, and the obstacle needs practice.
- Fall repeatedly at the same obstacle: decline, then change alignment or braking timing before the next run.
- Fall deep in a clean run: read the live revive price and wording before deciding.
- Return point is unclear: do not pay on an assumption. The available description does not guarantee a specific checkpoint destination.
Never let a countdown force a purchase. You can always use the failed run to identify the exact movement that needs correction.
Reaching the Finish and Confirming Wins
The tutorial asks new players to earn one Win, and successful completion raises the trophy counter. When you reach the finish:
- wait for the completion message;
- note the displayed Win reward;
- check that the trophy total increases;
- return to the hub before changing equipment;
- decide whether your next improvement should be control practice, a Shoe, or training.
One finish displayed Collected 20 Wins!. Do not treat that as a universal payout. Events, routes, and updates can change rewards, so trust the message shown after your run.
A Better Practice Method Than Full Restarts
After each failed run, write a one-line mental diagnosis:
- wrong route;
- bad alignment;
- late release;
- rushed second jump;
- hazard clipped at the edge.
Change only one thing on the next attempt. If you change camera angle, timing, and Speed at once, you will not know which adjustment fixed the problem.
Use the hub for movement drills, then return to the course. Attempt the route, name the failure, isolate that movement, and retry.
Common Walkthrough Mistakes
Memorizing an outdated stage count
Stage labels are useful landmarks, but updates can alter the course. Read the live arrows, doors, and platforms rather than assuming an old Stage 1 to Stage 8 layout is unchanged.
Jumping before the camera is aligned
Side-on camera angles make a straight input look diagonal. Place the camera behind the intended path before committing.
Holding movement through every landing
Continuous input is fast on wide ground and dangerous on small platforms. Release early enough to let the avatar settle.
Treating every failure as a stat problem
If you overshoot, more Speed increases the problem. Train when distance is missing; practice when accuracy is missing.
Assuming the revive is a checkpoint
The prompt says Teleport Back?, but the exact destination is not established. Read the current prompt and do not spend based on a guessed return point.
FAQ
Is the escape course always eight stages long?
The September 2026 build showed labels from Stage 1 through Stage 8. Check the current live route because updates can change the layout or stage count.
What happens when I touch lava or fall?
A failed obstacle interrupts the run, and the official description warns that a mistake can return you to the start. A paid revive prompt can also appear in the current build.
How much Speed do I need before entering?
Use the live recommended-Level sign and a control test in the hub. No stable universal Speed requirement is established for every course version.
Does the revive return me to the last stage?
The prompt does not define an exact destination. Read the live wording before paying and restart when the return point is unclear.
How many Wins do I receive at the finish?
Confirm the reward message and trophy counter in your current run. One completion gave 20 Wins, but that amount can change between routes or updates.